- On Arming Points and Knots
- Re-furbishing an Arming Sword Grip
- The Perils of New Armor
- Some Thoughts on Armor Selection
- Managing Heat While Wearing an Oven
- Diet
- Train Like a 15th Century Knight
- Alternative Workout….
- Helmet time
- Injuries are real…ly annoying.
- Rust Prevention for Armor – Revisited
- How to Wear Leg Armor
Those who know me know that I am rather picky about my arming swords. I have one I really love but it doesn’t meet IMCF regulations, so I only use it for practice and demos. Today, I re-furbished the grip on a sword that does meet IMCF rules (just barely at the tip): my Hanwei Practical Knightly Sword.
About this sword

The Hanwei Practical Knightly Sword isn’t spectacular. It barely meets IMCF/BL regulations, especially around the tip. It was designed for theatrical use and as such is rather sturdy. It is a heavy sword weighing in at an advertised 2 pounds 9 ounces (1162 g). It is a blunted arming sword with three fullers on each side, giving it remarkable rigidity and strength. The point of balance is advertised to be at 4 inches (~102mm) forward of the guard. It is 36.5″ (927mm) long over all with a 30 inch (762mm) blade length. The tip is rounded to 10mm radius and the edge is about 2mm thick, making it just barely legal in the two major bohurt organizations. Of course, as swords are finished by hand, there is some variance here. It hits fairly heavy with an OK return.
Over all, it is…OK. It is a usable sword that works well enough, but nothing to write home about…. except the price. I got mine online for about $200, which rivals the price of the low end bohurt swords coming out of Ukraine. Better yet, it even comes with a scabbard. (Like the rest of the sword, the scabbard is….just OK.)
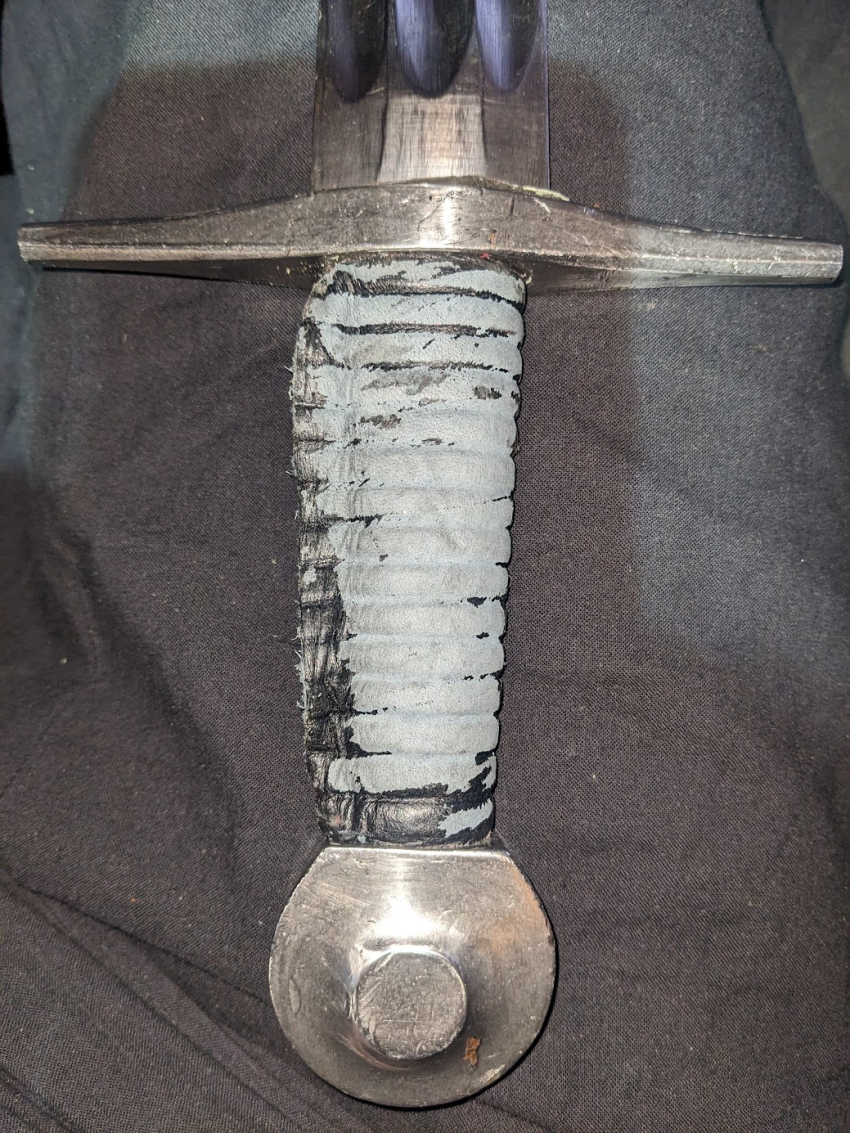
The grip on this is leather wrapped and tapered with a prominent set of ridges giving it a solid grip. The problems are the leather is junk (painted black, not dyed) and the ridges are deep groves, making the grip quite thick, even to my beefy hands.
To try and make this sword more usable, I decided to re-do the grip.
Removing the Old Grip
First task: Remove the leather. I had covered the leather with some hockey grip tape that is widely used among bohurt fighters. This is a cloth tape that not only imparts a good grip surface, but is also easily replaceable as your gauntlets and your opponents’ swords chew it up. In this sport, grip coverings are ablative. I removed the tape and saw it took the top layer of leather with it, exposing not black, but a blue-grey leather painted black. If it wasn’t getting removed before, it is now. It looked fugly.
This leather was simply glued on and I went to it prying it off along the seam. It didn’t take long to expose the wood core of the grip, but as I pried the leather I learned the manufacturer had covered the grip with the leather before peening the pommel on, so I had to cut the leather along the top and bottom edges. No big deal, but it tells me they never meant for the grip to be replaced. Once I got the wood core exposed, I made a plan.
I would file/sand the wood down to at least the bottom of the deep grooves and re-shape it a bit more flat oval for better feel where the blade edges are. Being able to feel where the edge is on a sword is called indexing and is helpful in a fight where the grip might turn in your hand. Being able to feel this and swing to hit edge on is essential to scoring good hits.
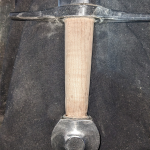
After much sanding/filing I got the wood down to the base of the grooves and then sanded more on the flat sides to make more of an oblong cross section. Come to find out the wood looked pretty decent once it was cleaned up.
Next I planned where to go from here. The most common grip covers I am familiar with are cord wrapping, sometimes adding leather over the top. This forms a nice, textured surface to hold on to. The leather gives it a little padding so it feels quite comfortable in the hand. Many HEMA style swords just stop at the cord, as it is grippy and easy to replace. Some later swords had partial or full covering with twisted wire rather than cord. This looks fancy and gives a remarkable grip when wearing leather gloves of gauntlets. There are a lot of 16th through 19th century examples of beautiful twisted wire art on sword grips. For me though, this sword was already heavy enough. I didn’t want to add the weight of twisted wire.
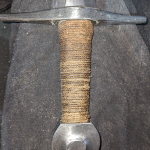
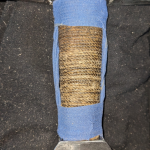
The next step was to wrap the grip in cord. I chose 2.5mm tarred hemp marline because it is something I have on hand, was used throughout history, and was about the right size. Marline is extremely strong, durable, and resistant to decomposition from sun and water. It did add quite some thickness to the grip, though. On a budget, you can just as easily use any 3-ply twisted cord for the same effect. Most people today use regular cotton string. I think if I re-do this again, I will file down the wood even more before adding the cord. For a good enough sword, this grip is good enough for now.
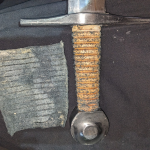
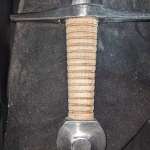
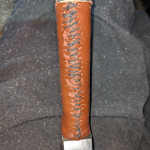
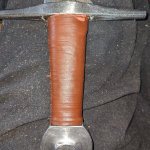
Moving on I thought it might be a good idea to add a layer of leather. I chose the only thin leather I had, which is a brown sheep skin. In hindsight, this was not durable enough. I probably should have used something like goat for more durability. Oh well. Live and learn. The thickness and technique looked fine. The leather was just too weak. I took photos any way, as I figured you might like to see what it would look like. If I were to use this sword for theatrical, ceremonial, or decorative purposes, a leather cover would work well here. I would use the tougher leather though, and glue it as well as sew it in place.
So… I removed the leather and decided the top layer(s) would be hockey grip tape. I chose blue because it is a distinctive enough color that I can say, “Get me the blue handled arming sword” and whoever is squiring will know at a glance which one to grab. I may add a red band top and bottom if blue becomes no longer unique. In any case, there are many colors to choose from.
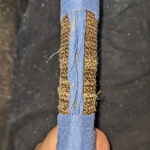
My first step was to aid in my indexing, as the handle with the cord was still a little big and round. I took a length of the blue hockey tape and twisted it into a round-ish cord, taping a doubled length on the blade sides of the grip. This makes the cross section just a little more oblong. Depending on the effect I’m going for, I often use one or two lengths of this twisted tape to aid in indexing.
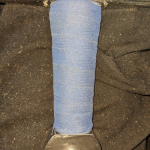
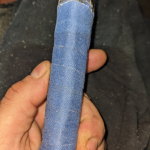
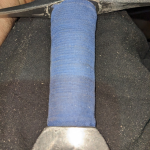
Once these are in place, it is a simple matter of spiral wrapping the handle from guard to pommel with the tape, overlapping about 30-50%. A single layer of this doesn’t add too much thickness, but does create a replaceable layer on top that protects the cord and makes it look pretty good. Of course, black is the most common color, but this cloth tape comes in all sorts of colors.
Once I finished the wrapping, I give it a good squeeze and the pattern of the cord wrap began to show. I think I like this result. It feels decent in the hand. Next time, I’ll definitely take more wood off the flat faces of the core before re-wrapping the cord. After that, I hope I’ll only need a single length of twisted tape along the edge sides for indexing. I’ll probably forego the leather as this will be a sword I’ll be using regularly. Perhaps if/when I retire it, I’ll add a nice leather cover.
Till then, I think I like the result. I do hope you find this useful.
And for those wondering, here are the exact measurements of this sword after the work is done:
- Mass: 1228 g
- Length Overall: 825 mm
- Blade length: 780 mm
- Point of Balance: 95 mm
Please leave a comment if you’d like to see more articles like this or if you have any other suggestions.


Can i send sword to have professionally regripped. Naval sword
I’m not a good person to do that for you. I only just learned to replace the grip on this one. You might do better looking for an antiques restoration expert.